


Wanna play cool, interactive games but are not sure how to start? Here is a simple guide to getting your fundamentals straight.
Introduction to JavaScript
JavaScript is a versatile and ever-evolving programming language, with many interesting topics to explore. Here are a few:
JavaScript Frameworks: Dive into popular JavaScript frameworks like React, Angular, or Vue.js, and explore how they can be used to build powerful web applications.
JavaScript and Machine Learning: JavaScript can be used in conjunction with machine learning libraries like TensorFlow.js to create intelligent web applications.
JavaScript and Game Development: Learn how JavaScript can be used to create browser-based games and interactive experiences.
JavaScript and the Internet of Things: Explore how JavaScript can be used to create IoT applications, from home automation to smart cities.
JavaScript and Data Visualization: Learn how JavaScript can be used to create stunning data visualizations, using tools like D3.js or Chart.js.
JavaScript and game development
JavaScript is a powerful programming language that has become increasingly popular in the world of game development. It is often used in combination with other web technologies such as HTML5 and WebGL to create games that can be played directly in a web browser.
There are many game engines and frameworks that are built on top of JavaScript, making it easier to develop games with features such as physics, collision detection, and rendering. Some popular game engines and frameworks built on JavaScript include Phaser, Babylon.js, and Three.js.
One of the advantages of using JavaScript for game development is its versatility. Because JavaScript is a language that can be used for both front-end and back-end web development, it can be used to create both browser-based games and server-based games.
Additionally, the ability to easily integrate JavaScript with other web technologies means that games can be created that take advantage of web features such as user authentication and real-time multiplayer.
Get to know a few frameworks before you jump into the world of another dimension!
There are several popular game development frameworks and engines that are built on top of JavaScript, including:
Phaser: Phaser is a fast, free, and open-source game development framework for building HTML5 games that work on desktop and mobile browsers. It has a large and active community, with plenty of resources and tutorials available.
Three.js: Three.js is a 3D graphics library that is built on top of WebGL and allows developers to create and display animated 3D computer graphics in a web browser. It is used for building high-quality and visually appealing games.
Babylon.js: Babylon.js is another popular 3D game engine that is built on top of WebGL and provides a simple and powerful API for building games in JavaScript. It also has a large and active community, with plenty of resources and tutorials available.
Cocos2d-x: Cocos2d-x is a popular game engine that supports multiple platforms, including mobile and desktop, and is built on top of C++. It has a JavaScript binding, which allows developers to create games using JavaScript and still leverages the power of the underlying C++ engine.
CreateJS: CreateJS is a suite of modular libraries and tools for building rich, interactive experiences with HTML5. It includes libraries for working with graphics, sound, and animation, making it a great choice for building 2D games in JavaScript.
These frameworks and engines offer a range of features and capabilities, from simple 2D game development to complex 3D games. Developers can choose the one that best fits their needs and start building games in JavaScript quickly and easily.
Some well-known games are developed using JavaScript!
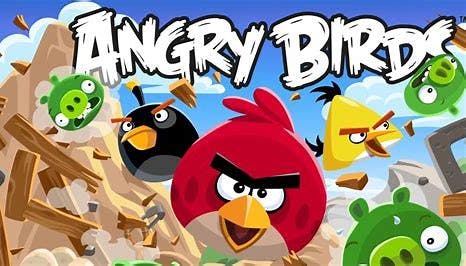
Angry Birds
This game was developed using the HTML5 canvas element for rendering and the Box2D physics engine for realistic physics simulation.
Cut the Rope
This game was developed using HTML5 and JavaScript for cross-platform compatibility and optimized performance.

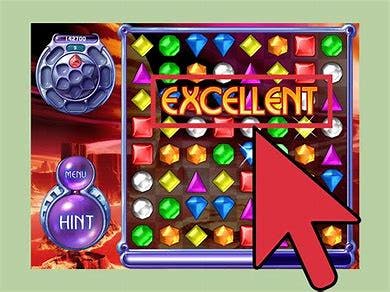
Bejeweled
This game was developed using the Phaser framework, which provides a set of tools and utilities for building 2D games using HTML5 and JavaScript.
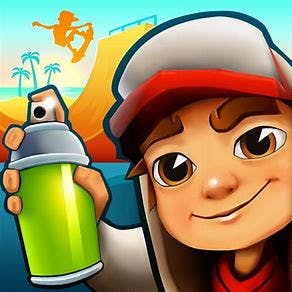
Subway Surfers
This game was developed using JavaScript and the CocoonJS game engine, which provides a native-like performance for mobile games built using web technologies.
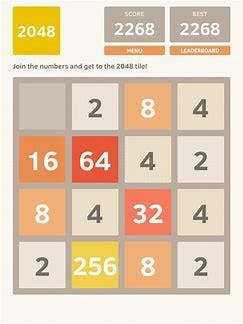
2048
This game was developed using JavaScript and the React library, which provides a component-based architecture for building interactive user interfaces.
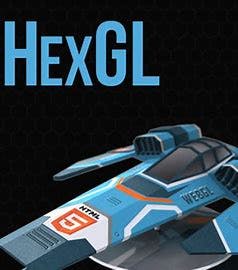
HexGL
This game was developed using JavaScript and the Three.js library, which provides a high-level API for 3D graphics rendering using WebGL.
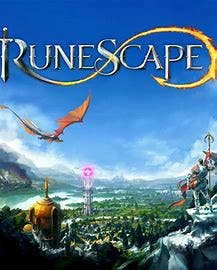
Runescape
This game was developed using JavaScript and the Google Web Toolkit (GWT) framework, which allows developers to write Java code that compiles to JavaScript for cross-platform compatibility.
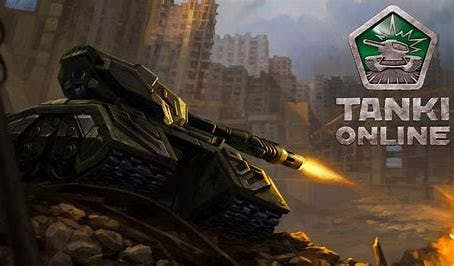
Tanki Online
This game was developed using JavaScript and the Unity game engine, which provides a powerful game development environment for building 2D and 3D games.
Enough of the boring stuff, right?
Why not build a game now?
This game is called "Catch the Ball". In this game, the player has to catch a ball that falls from the top of the screen.
Below is a simple HTML page that includes a canvas element with an ID of "gameCanvas" and a width and height of 400 pixels. The canvas is styled with a 1-pixel black border using CSS. The script tag contains inline JavaScript code that will be executed in the browser.
<!DOCTYPE html>
<html>
  <head>
    <title>Catch the Ball</title>
    <style>
      canvas {
        border: 1px solid black;
      }
    </style>
  </head>
  <body>
    <canvas id="gameCanvas" width="400" height="400"></canvas>    <script>
Get the canvas element and context.
This code below retrieves the HTML canvas element with the ID "gameCanvas" using the getElementById() method and assigns it to a variable called canvas. It then obtains the 2D rendering context of the canvas using the getContext() method and assigns it to a variable called ctx. The 2D rendering context provides methods for drawing and manipulating graphics on the canvas.
 var canvas = document.getElementById("gameCanvas");
      var ctx = canvas.getContext("2d");
Set the ball's starting position and speed.
These lines of code declare variables that store the initial position and speed of the ball in the game. The ballX variable represents the horizontal position of the ball on the canvas, which is set to the center of the canvas by dividing the canvas width by 2. The ballY variable represents the vertical position of the ball on the canvas, which is set to 0 to start the game with the ball at the top of the canvas. The ballSpeed variable represents the speed at which the ball will move down the canvas, which is set to 5 pixels per frame.
 var ballX = canvas.width / 2;
      var ballY = 0;
      var ballSpeed = 5;
Set the player's starting position and speed using the lines of code and logic described in the above block of code.
 var playerX = canvas.width / 2;
      var playerSpeed = 10;
Draw the ball on the canvas.
The drawBall() function is used to draw the ball on the canvas. Here's what each line of the function does:
ctx.beginPath();starts a new path or shape on the canvas.ctx.arc(ballX, ballY, 10, 0, Math.PI * 2);adds a circular arc to the current path.ballXandballYspecify the center of the circle,10is the radius,0is the start angle, andMath.PI * 2is the end angle, which draws a full circle.ctx.fillStyle = "#0095DD";sets the fill color to a light blue shade.ctx.fill();fills the shape with the fill color.ctx.closePath();ends the current path or shape.
Overall, the drawBall() function is responsible for creating a blue circle that represents the ball in the game, with its position determined by the ballX and ballY variables.
 function drawBall() {
        ctx.beginPath();
        ctx.arc(ballX, ballY, 10, 0, Math.PI * 2);
        ctx.fillStyle = "#0095DD";
        ctx.fill();
        ctx.closePath();
      }
Draw the player on the canvas using the same logic as before.
 function drawPlayer() {
        ctx.beginPath();
        ctx.rect(playerX - 25, canvas.height - 20, 50, 10);
        ctx.fillStyle = "#0095DD";
        ctx.fill();
        ctx.closePath();
      }
Move the player left or right based on arrow key input.
This function handles the movement of the player based on arrow key input. When a key is pressed, it triggers the event listener which calls this function with an event object containing information about the key pressed. The function checks if the key pressed is the left arrow key (keyCode 37) or the right arrow key (keyCode 39) and adjusts the player's position accordingly by subtracting or adding the playerSpeed value to the playerX variable. This allows the player to move left and right within the game area.
 function movePlayer(e) {
        if (e.keyCode == 37) {
          playerX -= playerSpeed;
        } else if (e.keyCode == 39) {
          playerX += playerSpeed;
        }
      }
Check if the ball has collided with the player.
The checkCollision() function checks whether the ball has collided with the player.
It first checks whether the ball has reached the bottom of the canvas, i.e. whether ballY + 10 is greater than canvas.height - 20 (which is the height of the player's rectangle). If the ball has reached the bottom, it then checks whether the horizontal position of the ball (i.e. ballX) is within the bounds of the player's rectangle.
If the ball is within the player's rectangle, the function displays an alert message saying "You caught the ball!", indicating that the player has won the game. If the ball is not within the player's rectangle, the function displays an alert message saying "You missed the ball!", indicating that the player has lost the game. In both cases, the function then reloads the page using document.location.reload(), effectively restarting the game.
  function checkCollision() {
        if (ballY + 10 > canvas.height - 20) {
          if (ballX > playerX - 25 && ballX < playerX + 25) {
            alert("You caught the ball!");
          } else {
            alert("You missed the ball!");
          }
          document.location.reload();
        }
      }
Update the game state by the following code chunk. The update() function updates the position of the ball by increasing its ballY co-ordinate by the ballSpeed value. This makes the ball move downwards on the canvas.
  function update() {
        // Move the ball down the screen
        ballY += ballSpeed;
Check if the ball has collided with the player.
   checkCollision();
      }
Draw the game objects on the canvas. The draw() function is responsible for rendering the game objects on the canvas. It first clears the entire canvas using ctx.clearRect() to remove any previously drawn objects. Then it calls the drawBall() and drawPlayer() functions to draw the ball and player respectively.
 function draw() {
        // Clear the canvas
        ctx.clearRect(0, 0, canvas.width, canvas.height);
Now, draw the ball and the player.
   drawBall();
        drawPlayer();
      }
Start the game loop.
The gameLoop() function starts an infinite loop where the update() function is called first to update the game state (move the ball), then the draw() function is called to render the game objects on the canvas. Finally, the requestAnimationFrame(gameLoop) method schedules the next frame to be drawn as soon as possible, effectively creating a loop that keeps the game running. By calling gameLoop() at the end of the function, the loop is started.
function gameLoop() {
        update();
        draw();
        requestAnimationFrame(gameLoop);
      }
gameLoop();
Listen for arrow key input.
This code adds an event listener to the document object that listens for keydown events. When a keydown event is detected, it calls the movePlayer function with the event object as an argument. The movePlayer function is responsible for changing the player's position based on the arrow key input. The false argument at the end of the event listener specifies that the event should be executed in the bubbling phase (the opposite is capturing phase), which is the default.
 document.addEventListener("keydown", movePlayer, false);


    </script>
  </body>
</html>
And voila! You have your game written in JavaScript. Remember, with JavaScript, you can go more complex, and this is just the beginning. But sure you have a clear idea by now what this language is capable of now.
JavaScript is a powerful language for game development that allows developers to create engaging and interactive games for the web. With its rich library of frameworks, APIs, and tools, JavaScript has become a popular choice for game developers of all skill levels.
From simple games like the one we created today to complex multiplayer games, JavaScript provides the foundation for building immersive experiences that can be enjoyed by players around the world. With the continued growth of web technologies, we can expect JavaScript to remain a dominant force in game development for years to come.